
Why not knock out a closet frame? It’ll be simple, right?
Incorrect; this process has many steps. Below I’ll break down what steps I carried out, with the help of help from my partner, to remove the closet from my office in our 1956 ranch-style home.
#1 I researched the question: is a closet required in a bedroom?
Before dreaming too hard about taking out a closet, I did ✨ research ✨
My partner and I were concerned whether the number of bedrooms in our home would be impacted by absence of a closet. My state follows the International Residential Code – super fun read, by the way – which doesn’t really define “bedroom” but just a “habitable room,” which has the following requirements:
- At least two methods of egress (an entrance door plus a window or another door)
- Minimum floor area of 70 square feet and no dimension less than 7 feet
- Minimum ceiling height of 7 feet for at least 50% of the ceiling
- An emergency escape window meeting specific size and sill height criteria
No closet listed. But what about appraisers, you might ask, if we ever needed to sell? Will they care?
This forum from 8 years ago has several responses, including one from Eddie Eggleston, who affectionately responded with the following, when the same question was posed:
The answer is irrelevant. The appraiser is there to determine fair cash value. How much less will a potential buyer pay for the house, now that one “bedroom” does not have a closet? And now, how much more will a buyer pay now that the kitchen is bigger. No big difference either way.
BTW a simple google search says appraisers do not need to see a closet to call something a bedroom.
Thanks, Eddie. So we’re taking a bit of a risk, possibly in terms of home value, and the legal definition isn’t really specified in my state. That’s enough validation for me. This also feels fairly reversible, since the closet cutout will still be there.
#2 I planned the space.
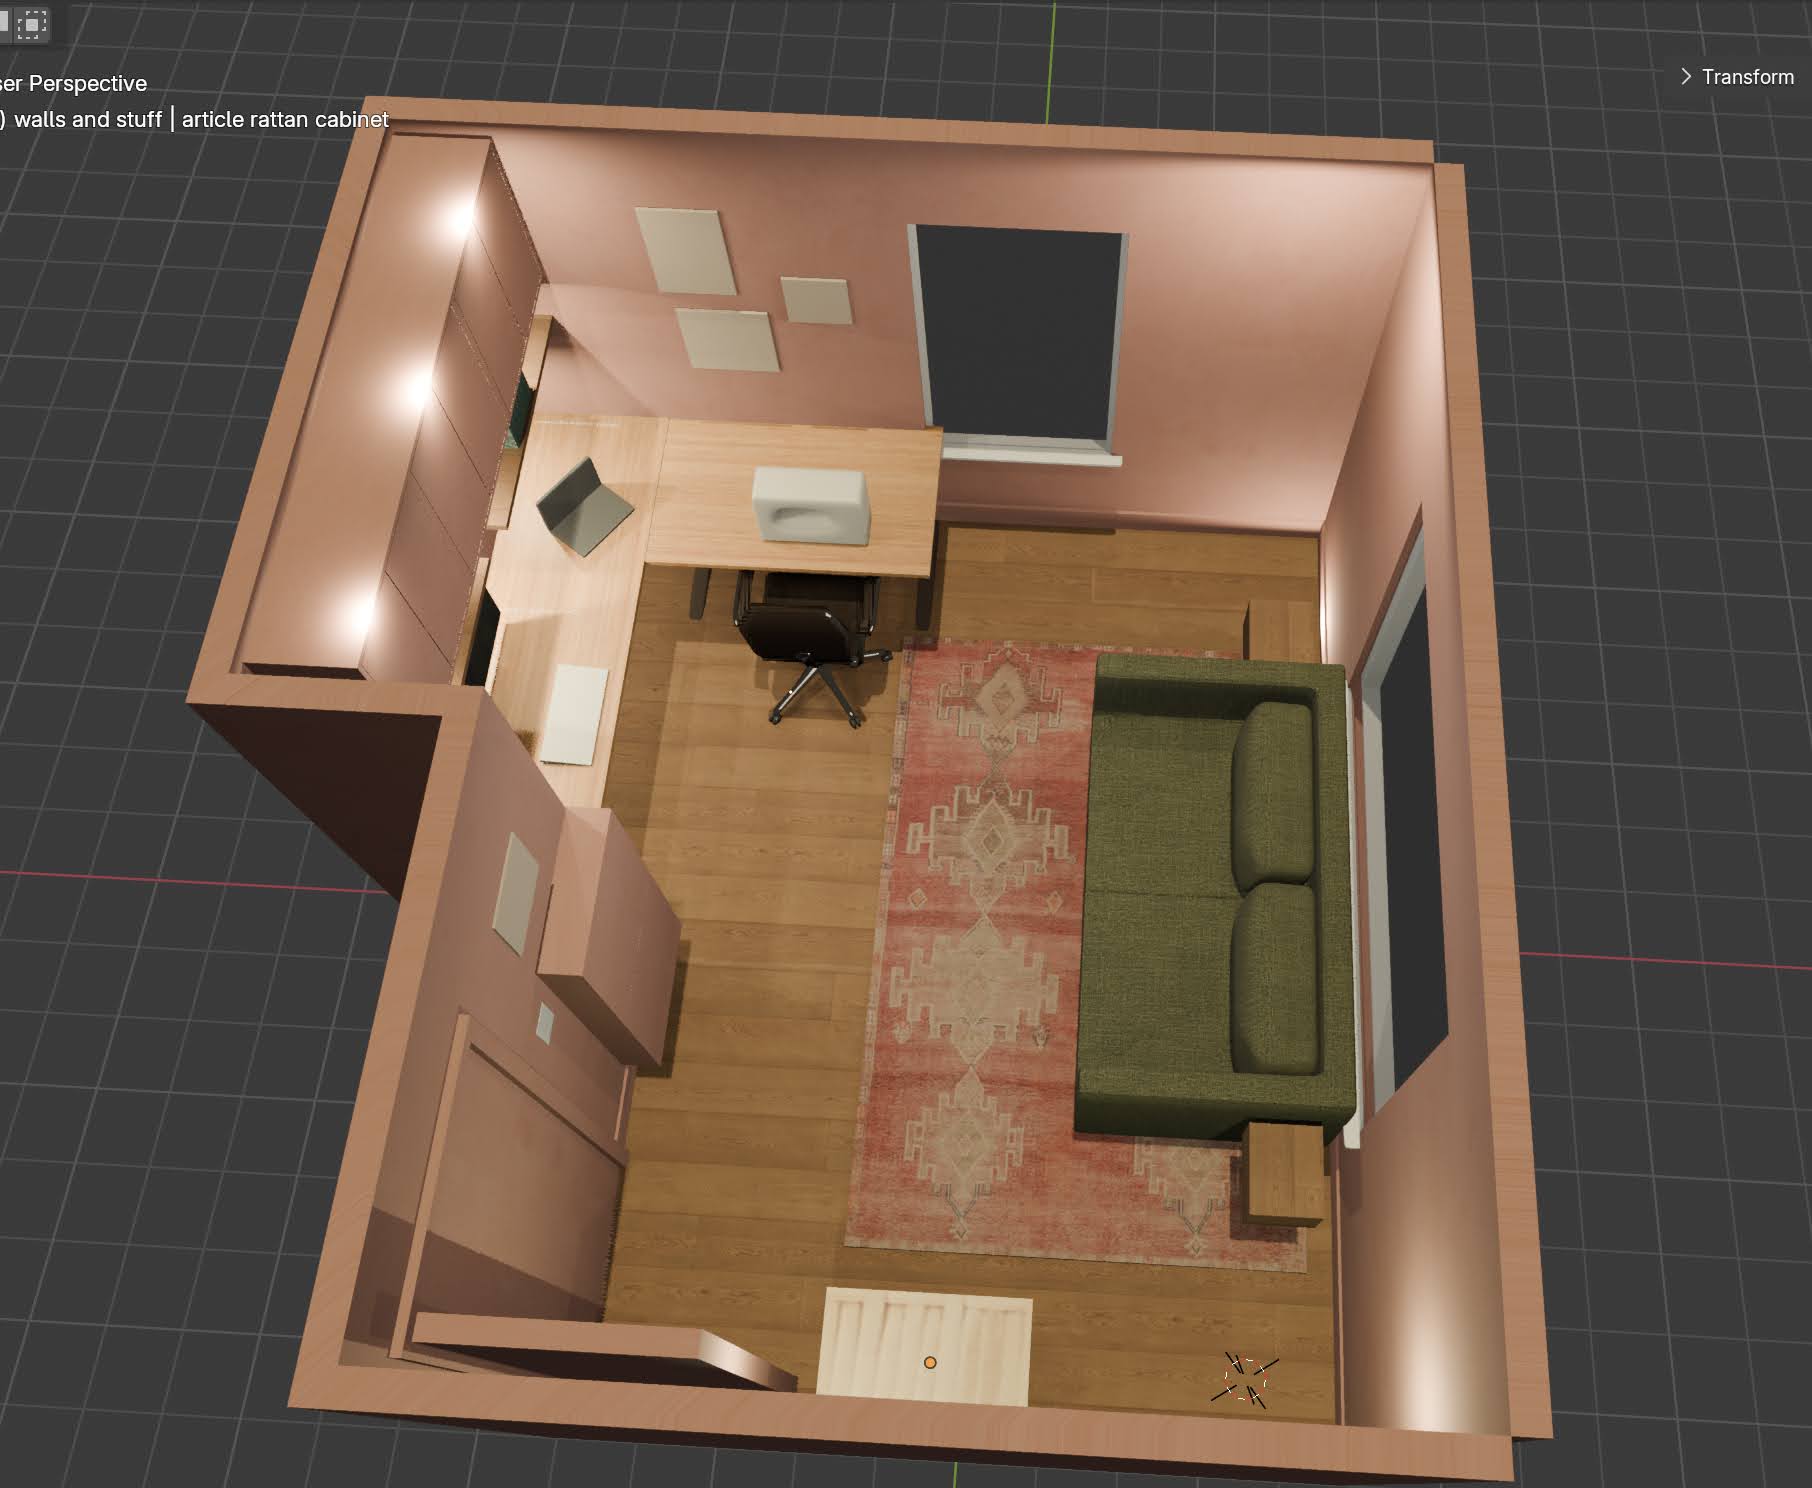
My goal was to create separate spaces for play and work. I knew I wanted a long desk, and have an L-shape with my standing desk. I also wanted custom storage to make up for the removed closet.
Using the trendy before/after slider below, you can see my two renders in Blender. I made a post about using Blender for the mockup here.

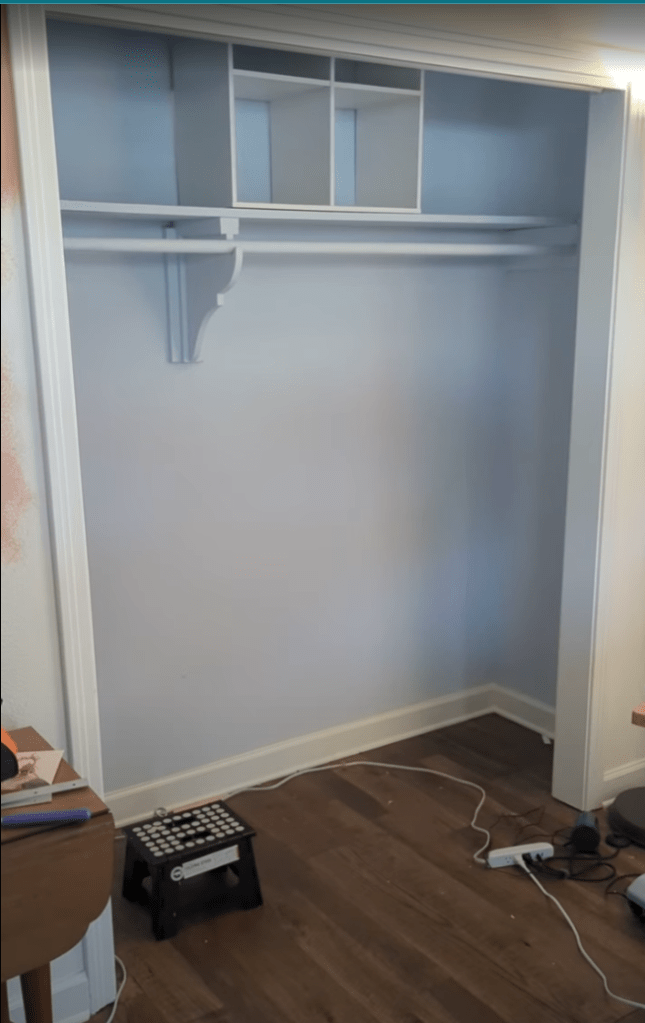
#3 Cleared out
I had a lot of stuff to move from my closet. A bunch of storage cubes with various art, craft, and tech supplies, a foldout table with a sewing machine and lamp, and a full bookcase full of miscellaneous items including a printer, an old Xbox One, books, and a “drop zone” for things I didn’t know what to do with.


#4 Destroyed the wall and frame, piece-by-piece
Research told me that removing a wall and framing took method, not brute force, so we took our time. Armed with a utility knife, my painter’s tool, and this handy trim puller, I got to work removing the supporting pieces of wood for the shelves, and pulling out the trim. Key thing I did was first cut through the caulk using either the utility knife or sharp edge of the painter’s tool, followed by the trim puller.


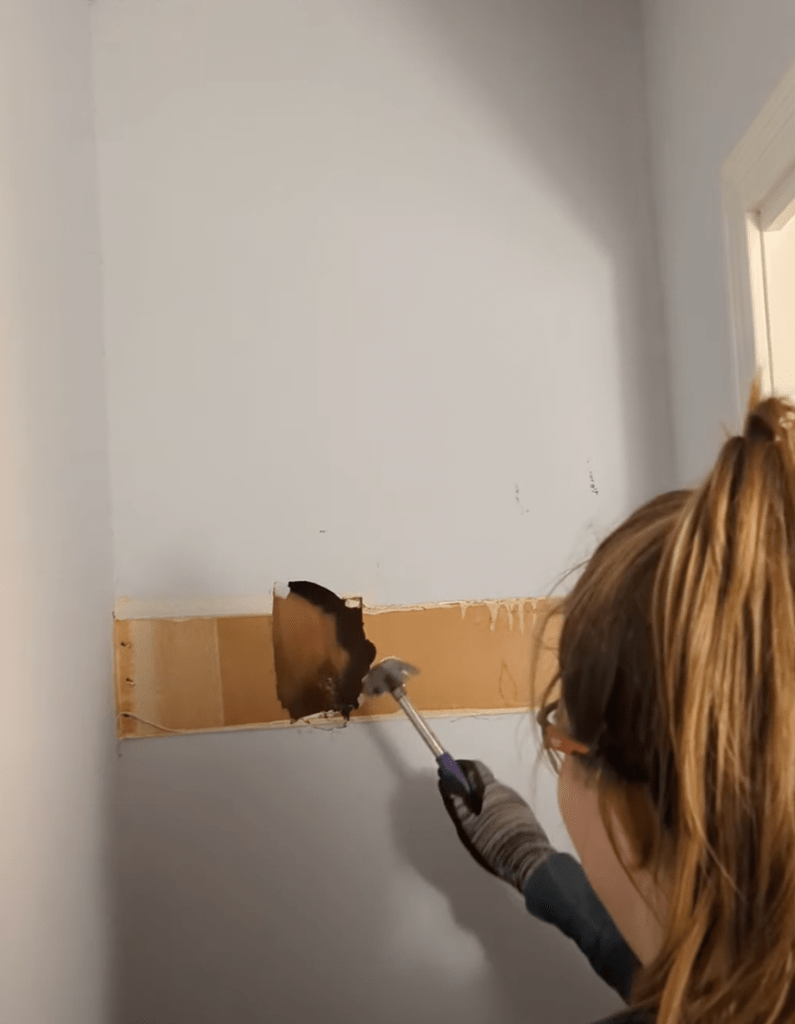
Then came the fun part: destroying the drywall. We decided we wanted to add sound-proofing insulation between my office and my husband’s, and realized there was no insulation for the exterior wall either, so it was now or never to add it.
Fun fact – I was using a hammer and rubber mallet to break drywall before opting for a much more handy mini sledgehammer. The technique of making deep-as-possible slashes with a utility knife, followed by smashing with the sledgehammer, worked very well. Enjoy the scary GIF.

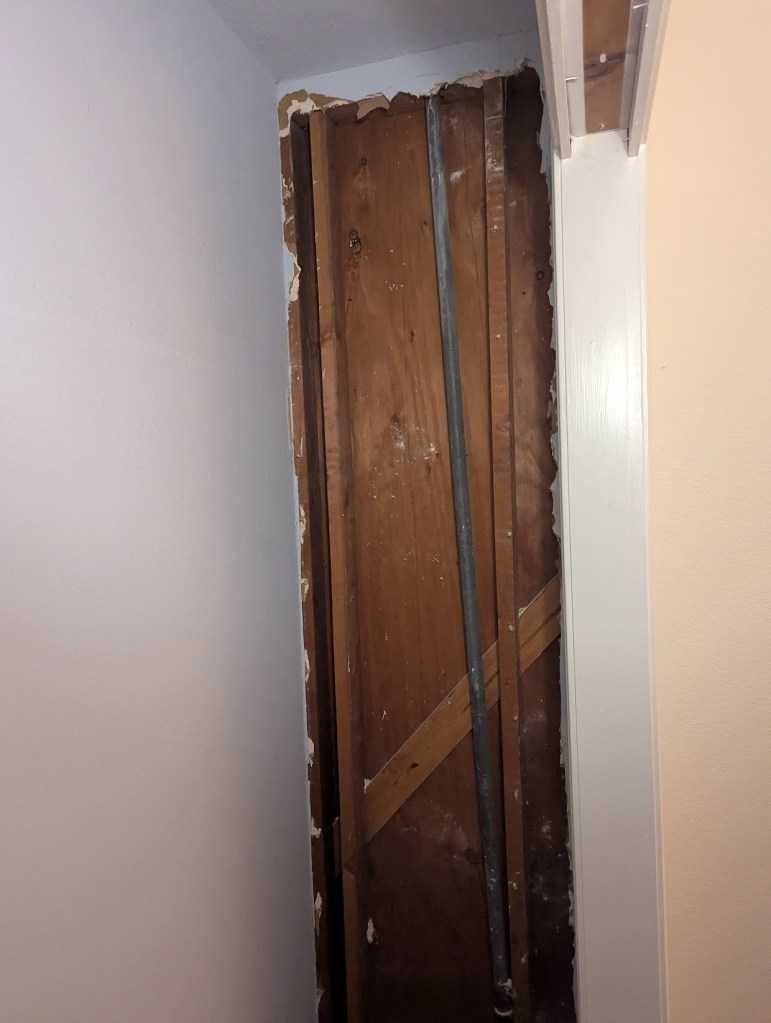
We also used our Ryobi reciprocating saw to cut through the wood framing in pieces.
The next steps were lots of rinse and repeat until we ended up with an assorted pile of wood segments, 8 full trash bags of drywall, tired arms, and hearts full of gold. The room already felt much bigger once the framing was fully removed.


#5 Added amenities
With the drywall knocked out, we took the opportunity to add more outlets and ethernet ports, with cable feeding from the other room, since I would be working there (pictured above).
Next came the insulation, which was very cozy to install. We went with R15 Mineral Wool from Home Depot. It was the highest R-value available in mineral wool for our 2×4 walls.
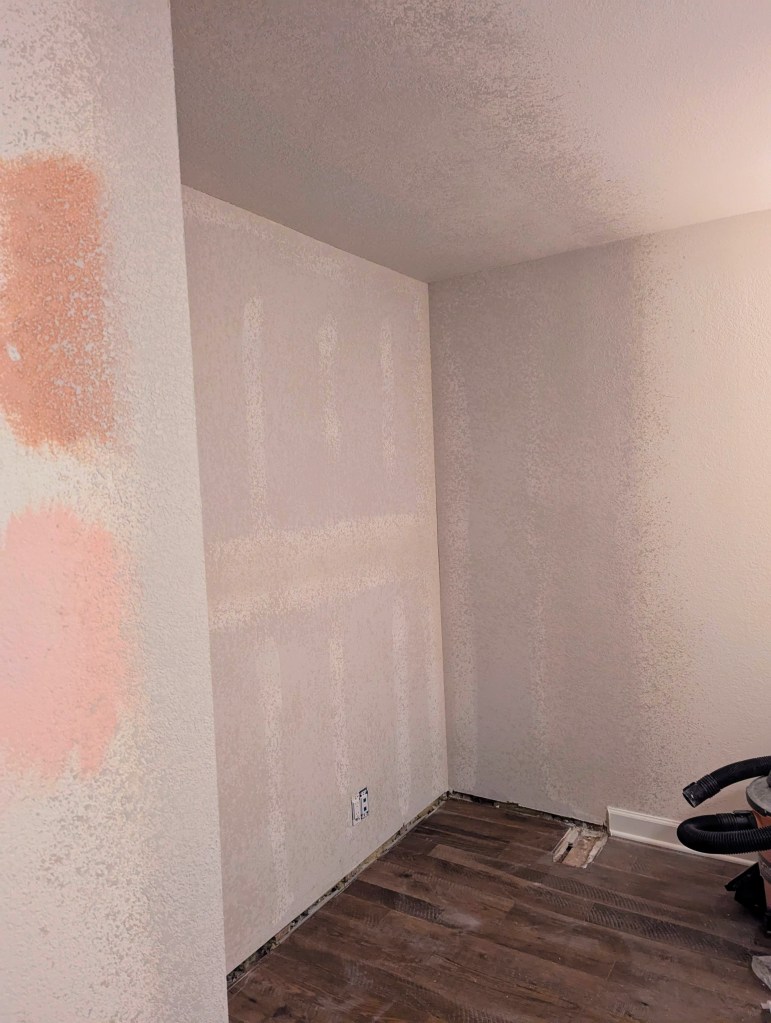
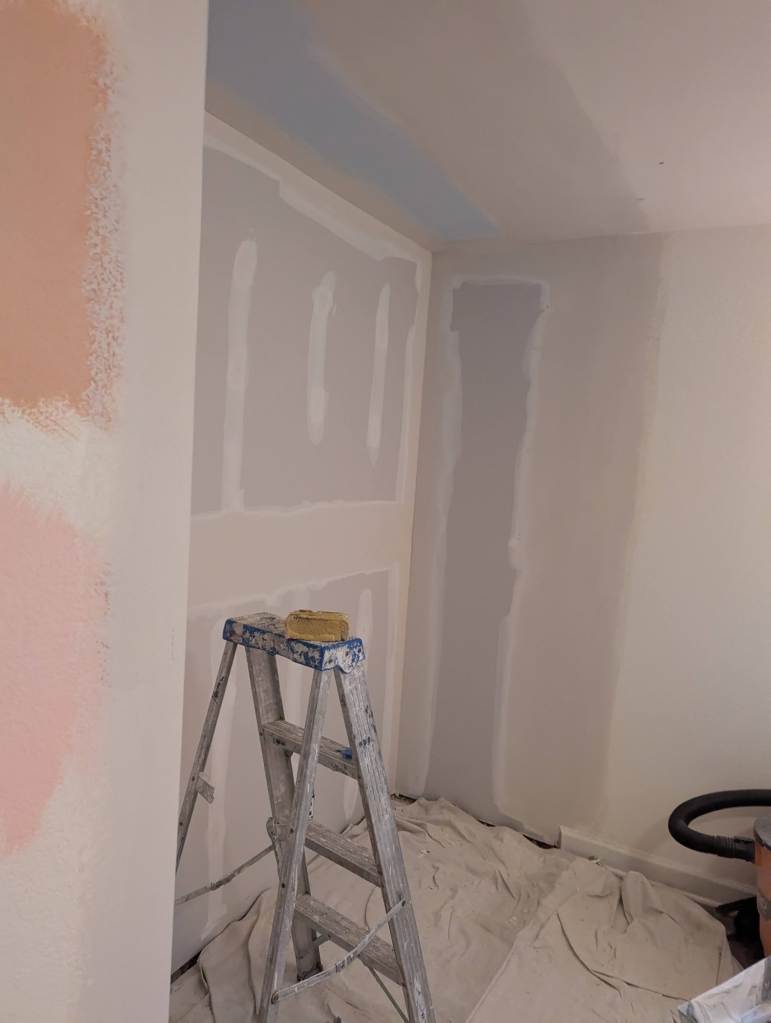
#6 Repaired drywall
I was not prepared to learn how to properly install drywall, as this needed to look good. Hiring a pro did cost a pretty penny – about $1,000 including materials and labor – but I would do it over again if I had too. The drywaller worked on this for basically 8 hours. FOMO was low.
And that’s it so far! The room felt bigger, but there was still lots of work remaining to make it an office-al space.
Stay tuned for a post on painting the entire room using Portola limewash paint.

Leave a comment